Hign-concerned Chemical : None
Material Type : Plastic
Item Weight : 170g
Item Height : 3cm
Item Width : 4cm
Item Length : 23cm
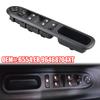
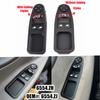
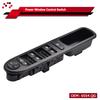
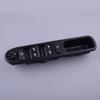
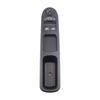
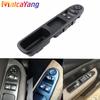
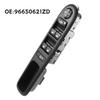
Model Name : Switch for Peugeot 207 Stufenheck 2007-2014 for Citroen C3 Picasso
Year : for Peugeot 207 for Citroen C3 for Picasso 2007-2014
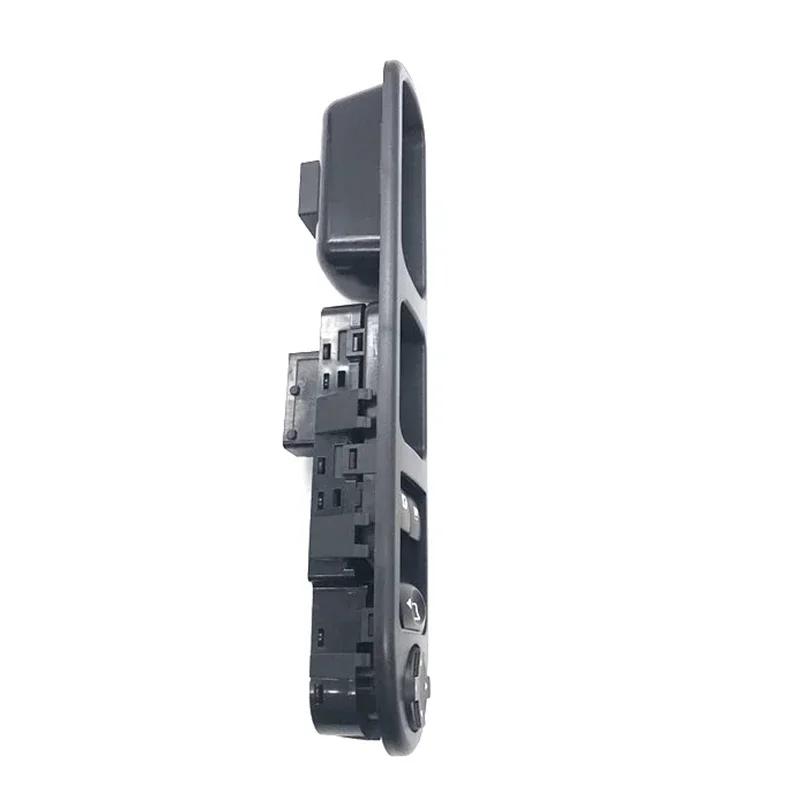
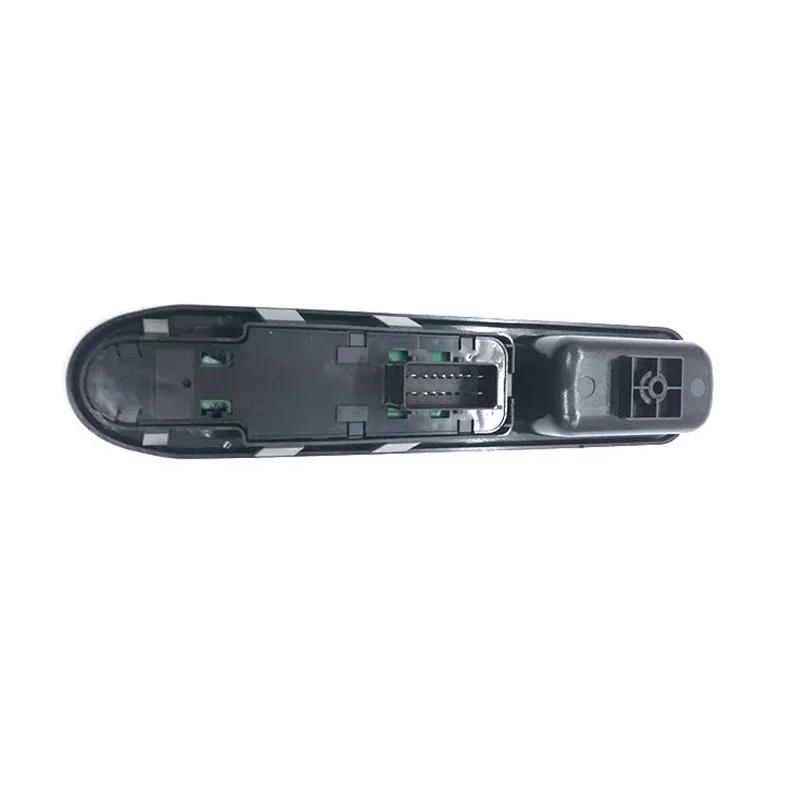
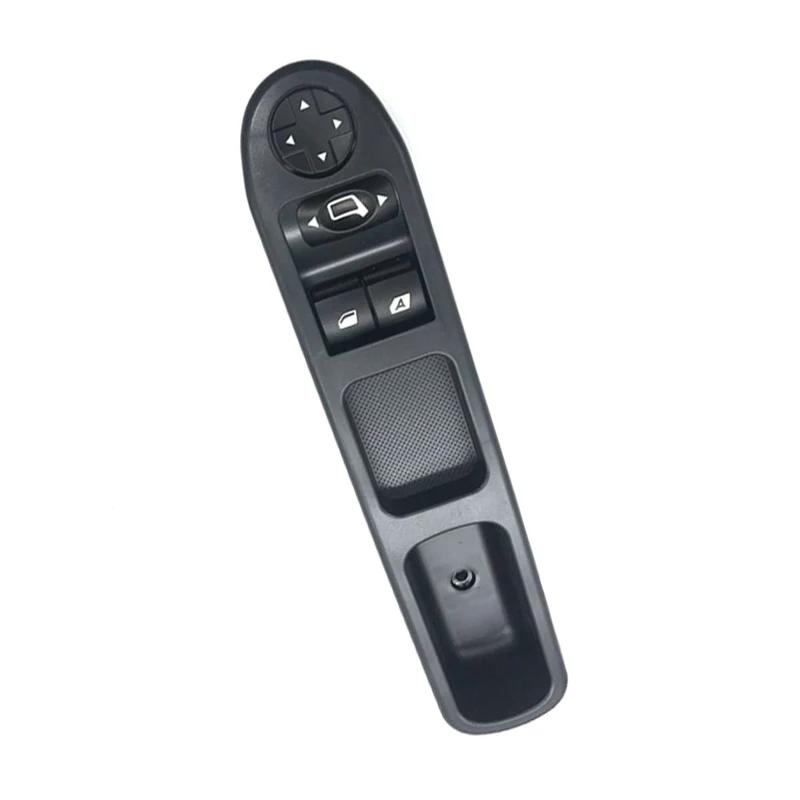
Item Type : Window Control Switch
Origin : Mainland China
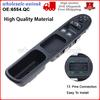
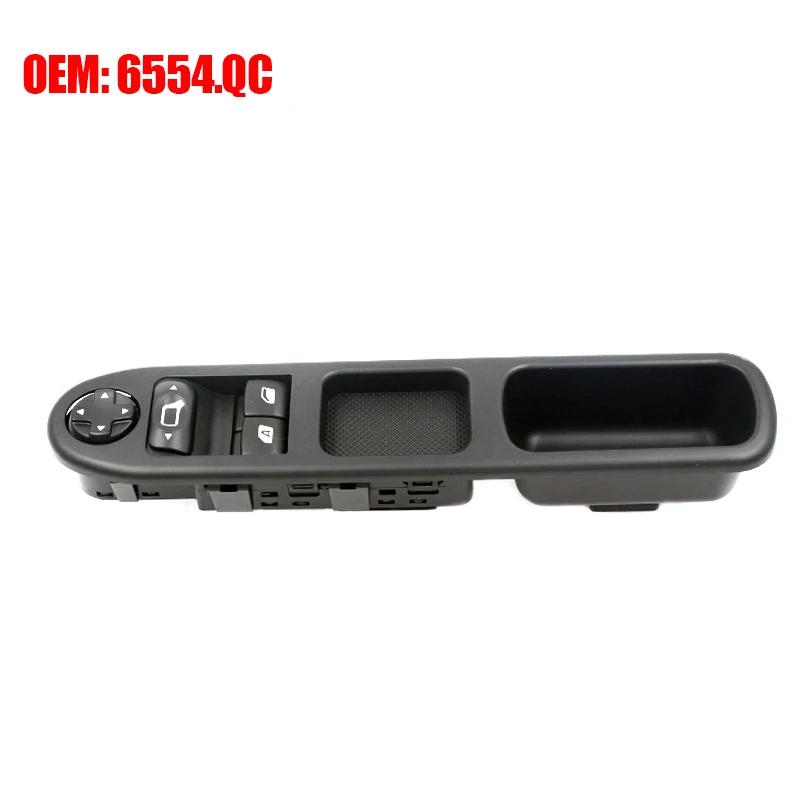
OEM NO. : 6554.QC 6554QC 6554.QA 6554QA
Car Market-1 : for Peugeot 207 WA WC (Bj. 2006-2014)
Car Market-2 : for Peugeot 207 Stufenheck 2007-2014
Car Market-3 : for Peugeot 207 Van 2007-2014 Kasten
Car Market-4 : for Peugeot 207 Van (2007-2014) Break
Car Market-5 : for Citroen C3 Picasso (Bj. 2009-2014)
A : Not suitable for European model peugeot 207cc 2008
Product Description:
-100% New,100% Factory tested.
-Global Leading Brands ,Popular Among Customers.
-Lifetime Tech Support From Malcayang Brands.
-Competitive Price With Professional Service and High Quality Standard.
-Please Comfirm The Parts Number Before Purchase ,Or Provide The Original Product Image Shape.
-It have Differenct Of Model and Appl. Year in Different Market.
-This Is Aftermarket Replacement Item But Not Genuine.
OEM Part Number:
6554.QC 6554QC
Compatible With:
For Citroen C3 Picasso 2009-2014
For Peugeot 207 WA WC 2006-2014
For Peugeot 207 CC WD 2007-2014 Cabriolet - Convertible 2007 2008
For Peugeot 207 Stufenheck 2007-2014
For Peugeot 207 SW WK 2007-2014 Kombi - Estate 2007-2014
For Peugeot 207 Van 2007-2014 Kasten 2007-2014
For Citroen·C3 Picasso· (2009-2014) MPV
For Peugeot·207·WA_, WC_ (2006-2014)
For Peugeot·207 Stufenheck·-- (2007-2014)
For Peugeot·207 SW·WK_ (2007-2014) Break
For Peugeot·207 Van·-- (2007-2014) Break
Not suitable for European model peugeot 207cc 2008
How to Replace a Faulty Window Switch:
Step 1: Disconnect the negative battery terminal before working on the switch to prevent short circuit. Next, unclip the handles using a screwdriver.Lift the faulty switch out of its harness.
Step 2: If you don't want to take off the door casing or the door handle, simply slide a flat-head screwdriver under The switch bezel and pry it until it loosens to access the housing.
Step 3: Once the switch pops out of the bezel, disconnect it from the wire harness and detach it from the outlet. Remove the rockers before inserting a new switch into the harness holes.
Step 4: Assemble the rockers into the new switch and snap the device into the bezel.
Note:
-Installation Instruction is NOT included. Professional Installation Is Highly Recommend .
-Due to the light and screen difference, the item's color maybe slightly different from the pictures.
-Please allow 1-2mm differences because of the manual measurement.Please understand.


 No-delivery refund